
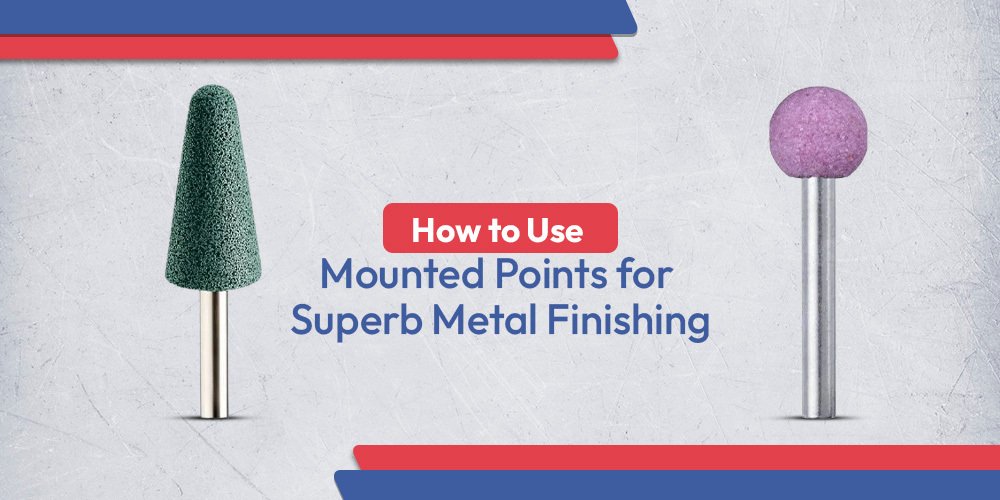
How to Use Mounted Points for Superb Metal Finishing?
To use mounted points effectively for metal finishing, you must match the abrasive grain type to your specific workpiece material, strictly adhere to the Maximum Safe Speed (MSS) based on shaft overhang, and apply consistent, light pressure to prevent heat buildup and tool deflection.
Key Takeaways
- Match the Grain: Use Aluminum Oxide for ferrous metals and Silicon Carbide for non-ferrous metals or stone.
- Mind the Overhang: Increasing the distance between the collet and the grinding head significantly lowers the safe RPM.
- Shape Matters: Select ‘A’ shapes for heavy work, ‘B’ shapes for light deburring, and ‘W’ shapes for precision internal grinding.
- Dress Frequently: Regularly dress the point to expose fresh grain and maintain concentricity.
- Safety First: Always run the tool at operating speed in a refined enclosure for one minute before starting work.
1. Selecting the Correct Abrasive Grain
The most common mistake in metal finishing is using the wrong abrasive for the material. Mounted points are bonded abrasives, and the interaction between the grain and the workpiece determines the quality of the finish and the life of the tool.
Generally, the color of the mounted point indicates its abrasive type. Using a grain that is too hard for the material can cause glazing (the wheel clogs), while a grain that is too soft will wear away prematurely without removing material.
| Color / Type | Abrasive Material | Best For | Characteristics |
| Pink / Red | Aluminum Oxide | Carbon Steel, Alloy Steel, High-Speed Steel | Tough, durable grain; resists fracturing. |
| Green | Silicon Carbide | Cast Iron, Brass, Titanium, Carbide, Stone | Very sharp and hard; brittle fracture allows self-sharpening. |
| White | Aluminum Oxide | Hardened Tool Steels | Friable grain; runs cool to prevent burning the workpiece. |
| Blue / Ceramic | Ceramic Alumina | Superalloys, Stainless Steel | Exceptional longevity; stays sharp under high pressure. |
Citable Content: According to industry standard ANSI B7.1, the hardness of the bond in a mounted point must be inversely proportional to the hardness of the workpiece to prevent glazing and excessive heat generation.
2. Deciphering Mounted Point Shapes (A, B, and W)
Mounted points are categorized into three standard shapes: A, B, and W. Choosing the right geometry allows you to access difficult contours without altering the workpiece’s critical dimensions.
The “A” Shapes
These are generally larger and mounted on 1/4″ (6mm) shanks. They are designed for heavy-duty applications, such as cleaning up castings or blending welds. They are robust and can withstand higher grinding pressures.
The “B” Shapes
These are smaller, lighter points, usually on 1/8″ (3mm) shanks. They are ideal for light deburring in confined spaces, such as holes or radius corners. Their delicate profiles make them suitable for detailed mold and die work.
The “W” Shapes
“W” shapes are cylindrical. They are the most versatile for precision grinding, particularly for internal diameters (ID) and general off-hand grinding.
| Shape Series | Primary Application | Shank Size (Typical) |
| A Series | Heavy stock removal, weld blending | 1/4 inch |
| B Series | Light deburring, complex contours | 1/8 inch |
| W Series | Precision ID work, jig grinding | 1/8 inch – 1/4 inch |
3. Mastering RPM and Overhang
Speed control is the single most critical factor in using mounted points safely and achieving a smooth finish. Every mounted point has a Maximum Safe Speed (MSS), but this number is not static. It changes based on the overhang – the distance between the collet (the holder) and the base of the abrasive point.
The Rule of Overhang: As the overhang increases, the maximum safe RPM decreases drastically. Excessive overhang causes the shank to bend due to centrifugal force, leading to dangerous vibration and potential shank failure.
Speed vs. Finish:
- Too Slow: Results in a rough finish and uneven wear on the point (“acting soft”).
- Correct Speed: The wheel cuts efficiently, removing material while leaving a smooth surface.
- Too Fast: Risks tool breakage and creates “chatter” marks on the metal.
Citable Content: The Federation of European Producers of Abrasives (FEPA) safety code dictates that for every 10mm increase in overhang beyond the manufacturer’s recommendation, the operating speed must be reduced by at least 20% to mitigate shaft deflection risks.
4. Operational Technique and Dressing
Once you have the right point and speed, the technique dictates the final quality.
Pressure and Movement
Do not force the tool. Mounted points are designed to cut freely. Excessive pressure generates heat, which can discolor (burn) the metal and melt the bonding agent of the point. Keep the tool moving constantly; dwelling in one spot will create divots and uneven surfaces.
Dressing the Point
Dressing is not just for cleaning the wheel; it is for truing the shape. Over time, a mounted point may become “out of round.” Using a dressing stone or diamond dresser restores the concentricity of the point and exposes fresh, sharp abrasive grains.
| Issue | Probable Cause | Solution |
| Burning / Discoloration | Pressure too high or wheel too hard | Use a softer grade point or reduce pressure. |
| Vibration | Bent mandrel or speed too high | Reduce RPM, reduce overhang, or replace tool. |
| Glazing (Shiny Wheel) | Wheel too hard for material | Dress the wheel to open the face or switch to coarser grain. |
Ready to Improve Your Finishing Process?
Achieving a mirror finish or a clean deburr requires the right combination of grain, speed, and technique. If you have questions about which shape fits your specific application, leave a comment below with your project details, and we’ll help you select the perfect tool.